There are 4 ways to remove themes in WordPress.
Let’s start with the easiest, removing themes with the admin dashboard.
Remove WordPress Themes Using the Admin Dashboard
The best way to remove a WordPress theme is with the admin dashboard.
The main requirement for this option is that you must have an admin WordPress account.
Here are the steps you need to follow:
- From the dashboard’s admin panel, select Appearance > Themes.
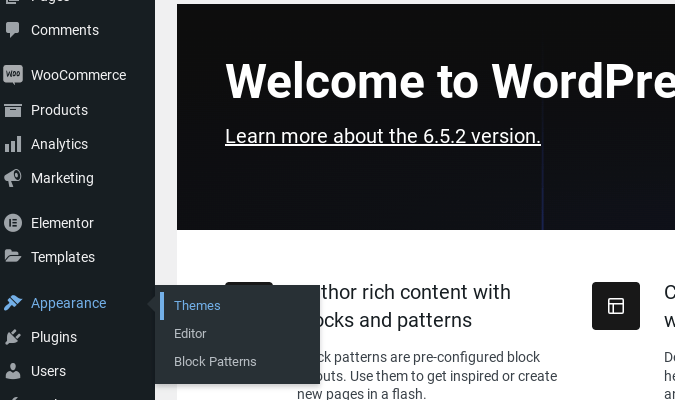
- You’ll encounter a screen that displays all the themes you’ve installed, with the active one first.

- Remember that a theme must be deactivated before being deleted. So if you’re currently using the one you want to delete, you must first deactivate it and activate a different theme.
- Select the theme you wish to remove.
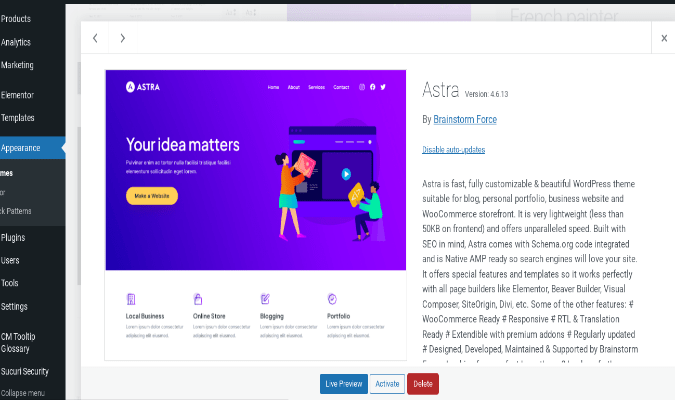
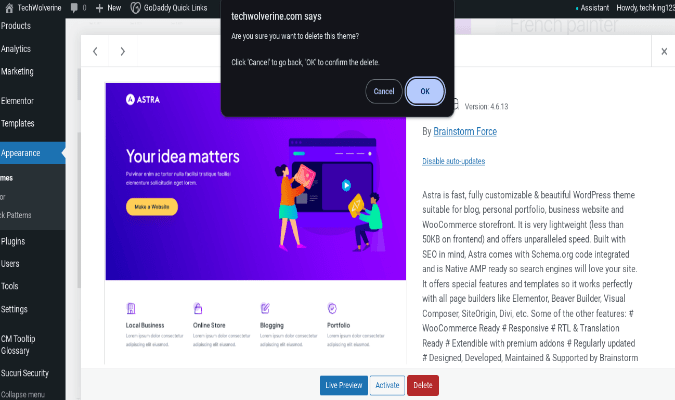
- Click the Delete button in the bottom right corner and confirm you want to delete the theme.
Remove WordPress Themes via cPanel or File Manager
Another way to remove a theme from WordPress is via the cPanel or file manager, as long as you have admin privileges.

- From your WordPress hosting account, locate the file manager.
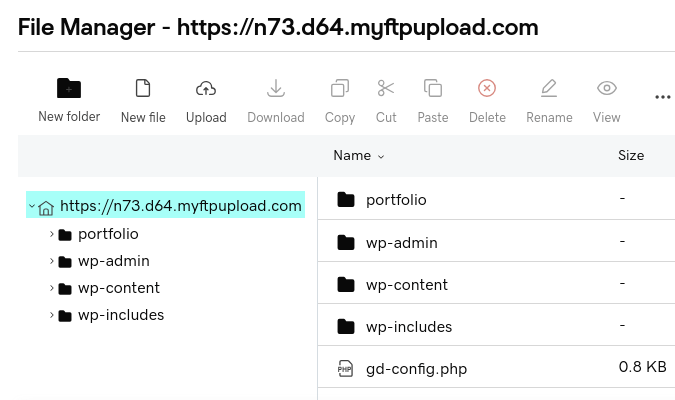
- Go to the wp-content folder, then the themes folder.
- Select and delete any themes you wish to remove.
Remove WordPress Themes via File Transfer Protocol (FTP)
If you don’t have admin access, you can remove a WordPress theme using a (secure) file transfer protocol (FTP/SFTP) app. This will require connecting your WordPress site to FTP software like FileZilla and executing FTP operations.

The first step is creating an FTP account or obtaining existing FTP login credentials for your WordPress site, as follows:
- Navigate to your managed WordPress or product page to locate your FTP login credentials. We’ll use GoDaddy as an example here, but you may see something different with another host.
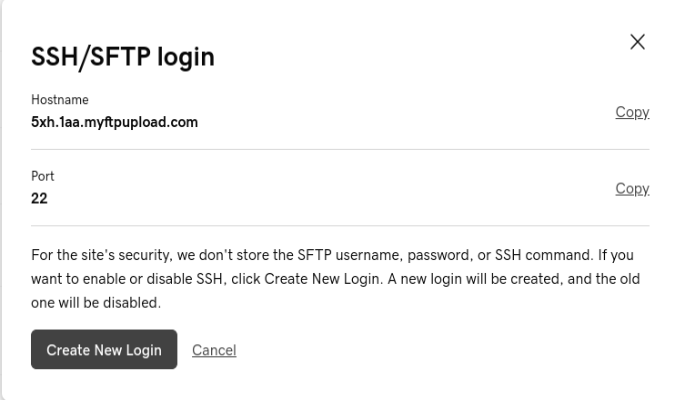
- Copy the relevant credentials FTP/SFTP, such as the hostname, username, password, and port number. If necessary (as with GoDaddy), you may be required to create a new login when accessing your current credentials. Again, the protocol and procedure will likely differ if you use a different hosting provider.
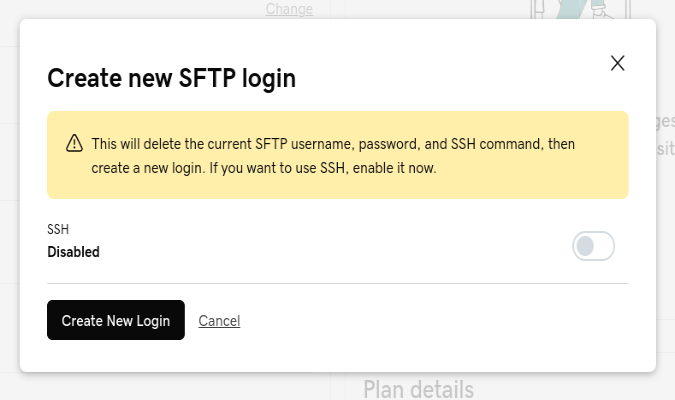
- After you’ve obtained the FTP login, the next step is to connect your site to an FTP software.
Connect your site to an FTP software
There are various FTP applications you can download and use. Here are the steps if you are using FileZilla:
- On Windows or MacOS, visit the appropriate download page for FileZilla, then download and install the latest stable version.
- On a Linux machine, open your terminal or bash app and type sudo apt update to ensure your terminal is up-to-date, then type sudo apt install filezilla.
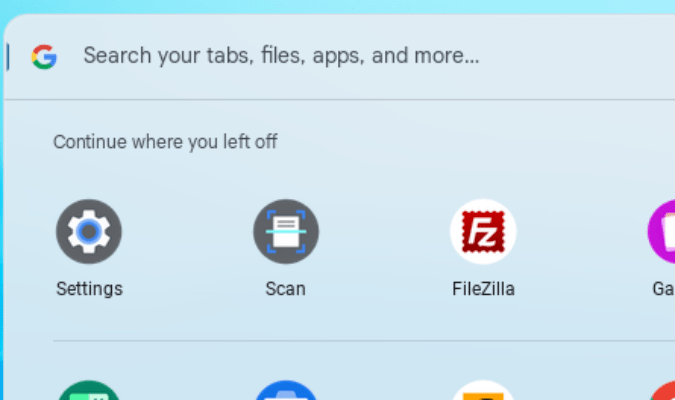
- Once the installation is done, click on your launcher or app drawer and open FileZilla.
- Once open, the top pane of the FileZilla app will be empty since no connection to a remote server has been established. This is reinforced below it on the right side, which displays “Not connected to any server.” On the left side is your local file directory structure.
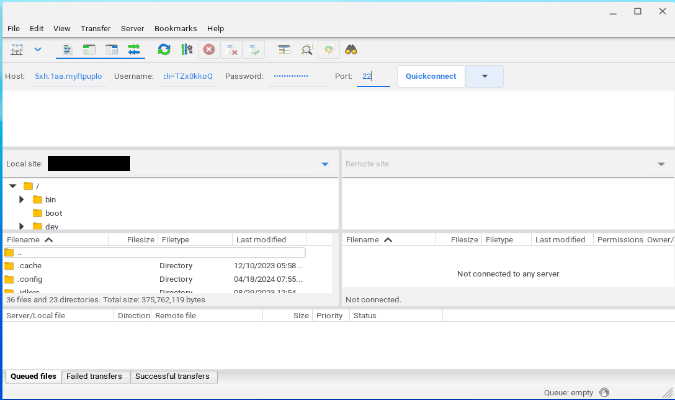
- In the relevant fields, enter your FTP’s hostname, username, and password.
- Once you’ve entered the relevant FTP credentials, click on Quickconnect. If all is well, FileZilla will initiate a connection and populate the dialog with results.
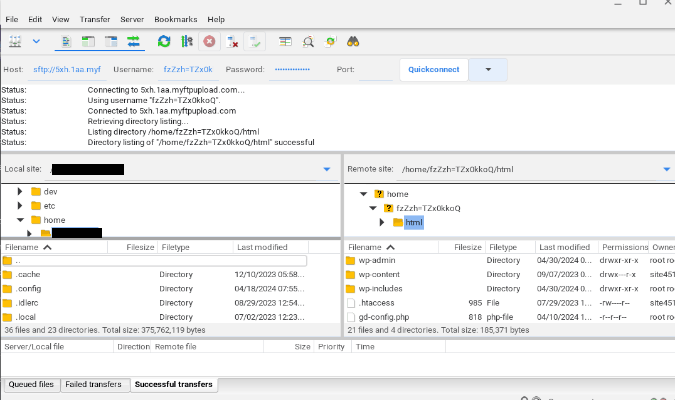
- The right-side panel, labeled Remote site, allows you to access your WordPress site’s root directory. Navigate to wp-content and then the themes folder.
- Locate the theme(s) you want to remove.
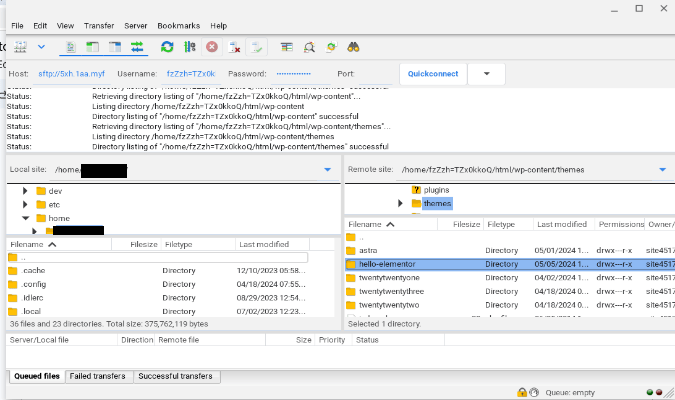
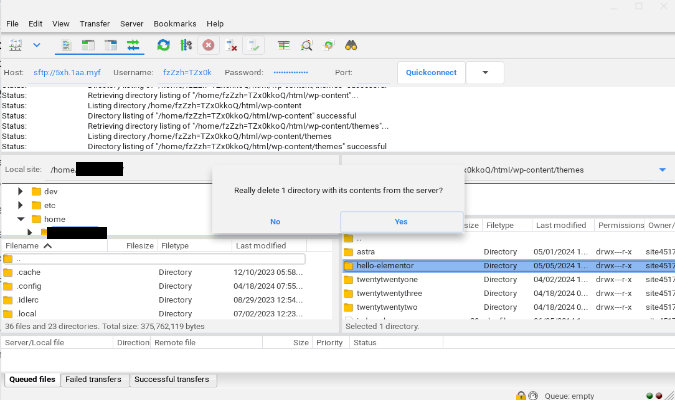
- Right-click on the theme you want and select the Delete command—or the red circle with a white X in your toolbar.
- Your FTP will likely prompt you to make sure.
Remove WordPress Themes via the WordPress Command Line Interface (WP-CLI)
The beauty of command line tools like WP-CLI is that they make repetitive developer tasks easy to execute. However, using the WordPress command line can be an even more sophisticated process that requires extensive technical knowledge to deal with its idiosyncrasies.
For starters, WP-CLI is not installed by default and requires installation and system preparation before use. While we used the official installation method, there are other ways to install WP-CLI, including via package managers and services like Docker, Homebrew, and Composer.
- On a Linux system, the first step is (once again) to ensure the packages on your system are up-to-date. Run this command in your terminal so Linux updates the package list for new installations while upgrading current and available ones: sudo apt-get update all
- Next, download the wp-cli.phar file either with wget or curl command, like this: curl -O https://raw.githubusercontent.com/wp-cli/builds/gh-pages/phar/wp-cli.phar
- Verify the download works using the following command: php wp-cli.phar –info
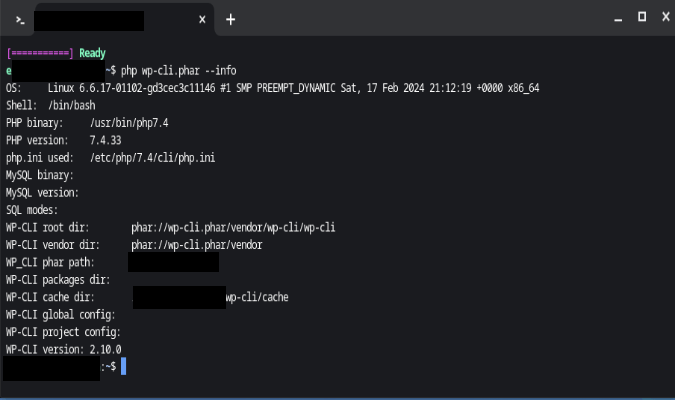
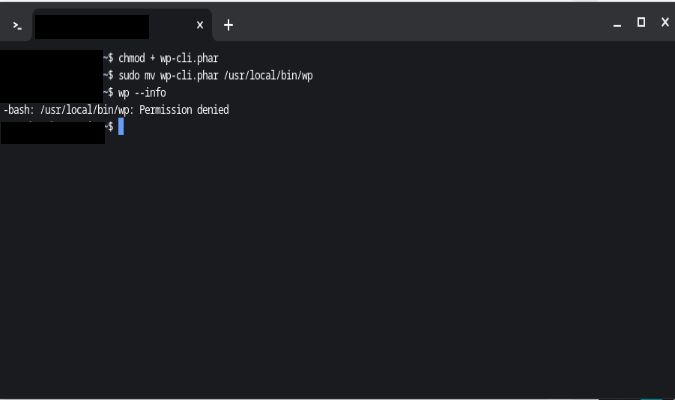
- The next step is to make the downloaded wp-cli.phar file executable, so move it into your PATH with the following commands:
chmod +x wp-cli.phar
sudo mv wp-cli.phar /usr/local/bin/wp
Note that the last command also renames the file to wp.
- Be aware that the file’s permissions have changed upon relocating to a more exclusive folder. This issue demands immediate attention and resolution before proceeding with further actions using these commands. Try to address the issue while clearly displaying the file’s permissions to pinpoint the problem area.
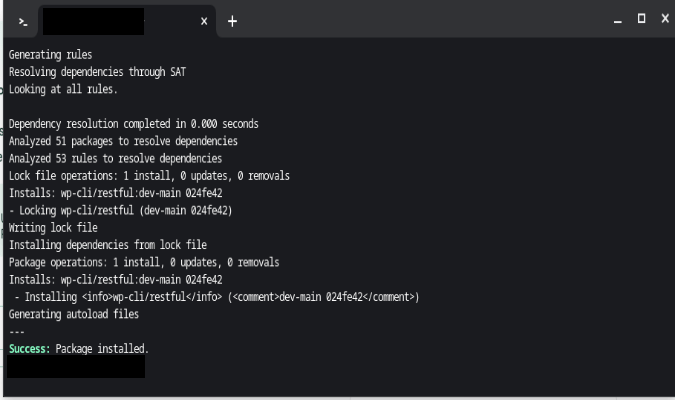
- If you don’t have any local WP installations, you may have to perform WordPress theme-related operations remotely. This requires installing RESTful WP-CLI to facilitate remote connections, so enter the following command: wp package install wp-cli/restful
- Typically, command lines are used on local package installations.
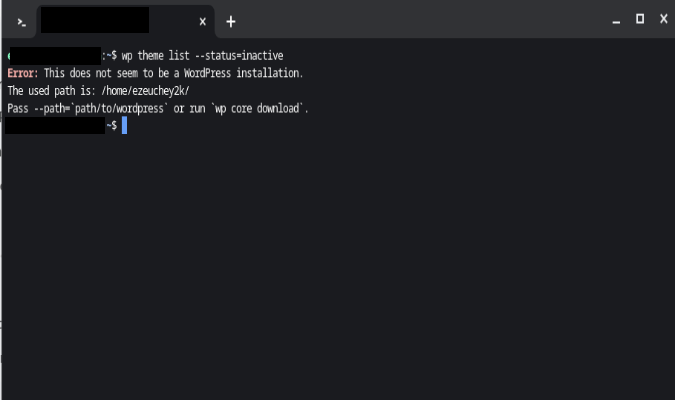
- Without a local WordPress installation, you can attempt to connect to the cloud-hosted version.
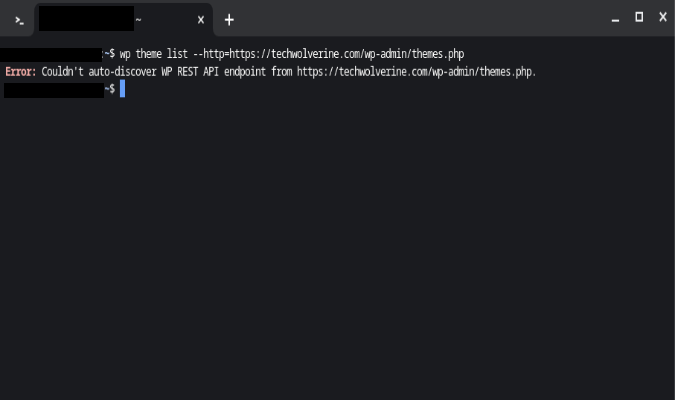
Your mileage here may seriously vary, so if you’re unsuccessful, you may have a better time removing your WordPress themes with an easier method.


