I’m a recent convert to Google Tag Manager (GTM). Launched in 2012, GTM helps marketers and conversion optimizers with a painful issue: implementing lots of different types of code on a site in order to track the metrics you need.
Before GTM, putting tracking code on your site was a messy, risky business. Whoever was in charge of the website backend had to handle implementation, and there was no guarantee that you would get it right the first time. (I still have nightmares about how a failed copy and paste of tracking code broke my site.) You also couldn’t be sure you’d end up with the metrics you wanted and having multiple code snippets (“tags” in Google-speak) running from your site could also take a toll on loading time.
GTM aimed to solve all these problems, with templates for easy tag implementation and asynchronous tag loading to keep your site load times fast. A later update created a clearer interface and added support for more of the tags marketers and conversion optimizers commonly use.
All that sounds great, but how easy would it be for the average person to implement and use GTM on their website? I decided to find out and it turned out to be more involved than I had anticipated.
Decoding Google Tag Manager
First, I had to learn a new vocabulary:
- Tags, as I’ve mentioned, are snippets of code that run on web pages.
- When a tag runs on your page, you say that it fires.
- A trigger is what makes the tag fire. It checks that the appropriate conditions for firing are met and then takes action or not. For example, if you are implementing analytics code, any time someone visits a page that will serve as a trigger. (Here’s Google’s guide to triggers.)
- A variable helps tell GTM where a tag should fire.
- A data layer stores information for GTM. OptimizeSmart does a great job of explaining this.
- A container is where you store all the tags, triggers and variables for your site. Within GTM each site should have its own container.
With the basic terminology under my belt, I was ready to start my first GTM implementation.
Implementing Universal Analytics Via GTM
I decided to use GTM with my WordPress-based site, sharonhh.com, which has 23 pages and 160 posts. Google’s own guidelines suggest that you audit your site to see what tags are already running. I didn’t really need to do this, as I knew I was using Universal Analytics and Clicky analytics. I already had a Google account, so I followed the usual procedure to link it to Google Tag Manager.
Step 1: Create an account
Once you’re logged into GTM, the first step is to create an account. This could be useful if you are handling GTM implementations for multiple clients, because you’ll want an account for each of them.
The account will hold the GTM container ID for your site. You have to choose the type of container (Web, iOS or Android) and hit the “create” button. That will give you the GTM code.
I created a container using my domain name so I could easily identify the site. If I wanted to add another container (say for a mobile app for my site), I could add this via the account page. For example, in the screenshot below, I could have added GPTWO as part of my SHHwebsites account.
Step 2: Create a tag
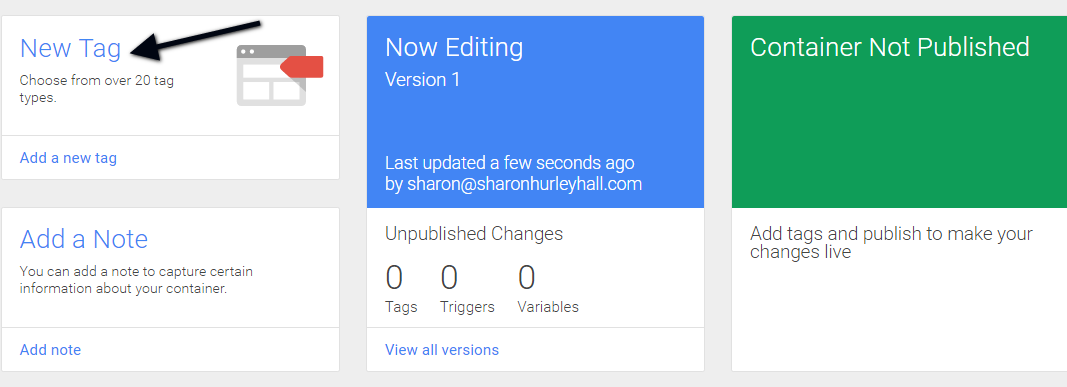
Next, you need to create a tag. Click the “new tag” button, then select the tag you want to add.
Name the tag something that is easy to remember. For example, I use a naming convention that includes the initials of my site plus the type of tag I am using.
Step 3: Add your tracking ID
Next, find your tracking ID for the site in your Google Analytics account. Go to the admin section, select the property, click on tracking info, then tracking code. The analytics ID will be at the top of the page. Copy this and paste it into the appropriate box in GTM.
Step 4. Choose what and where to track
Next, decide what you want to track. For an analytics implementation, this will usually be page views, to replicate what your existing analytics code is doing. At this stage you can also decide where the tag should fire. Again, for analytics, use “all pages”. Hit the “create” button.
Step 5: Make sure your site is ready
If you already have GTM setup on your site, the next step would be to publish, but since this was my first implementation, I had to prep my site. Since it’s a WordPress site, this involved plugins. Most people recommend DuracellTomi’s Google Tag Manager plugin (documentation here), so I installed that and added my GTM container ID.
Step 6: Preview and publish
When your site is ready, it’s time to put GTM to work. You have the choice to publish the code immediately or to preview it first. Previewing allows you to check whether the tag is firing.
When in preview mode, visiting the site lets you see which tags are firing.
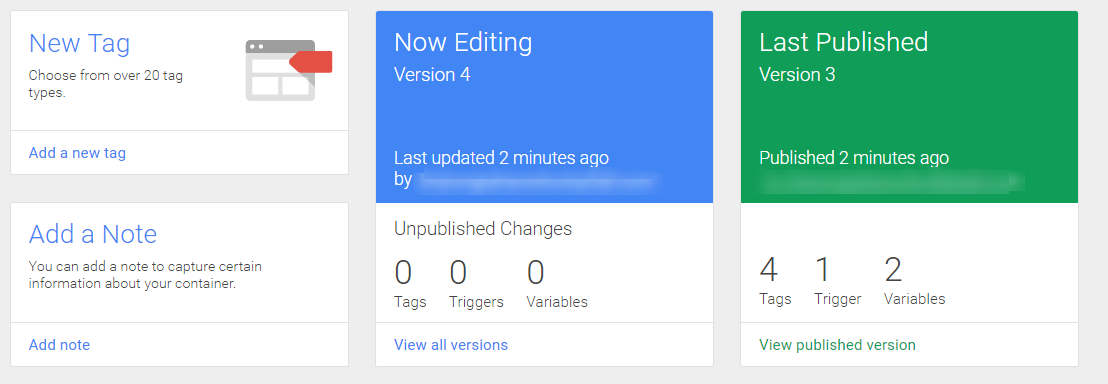
When you are happy that your tags are working, hit “publish” and the code will be live. Google Tag Manager keeps track of tags, triggers and variables. Whenever you add something new, it creates a new version for you to work on. You can also see in the dashboard when you have unpublished changes.
Step 7: Remove duplicate code
If you’re like most people, you already have a Google analytics implementation running on your site. If you want your stats to be reliable, you need to remove the old code and run Analytics ONLY through GTM.
If you want to be sure that only one instance of tracking code is running, a Chrome plugin, Google Tag Assistant, will help. After using this to check, I searched through my WordPress plugins and theme files to make sure I had found and got rid of all the old code.
Step 8: Check your stats
When it comes to Analytics, a little paranoia is a good thing. For the first week after making the switch, I checked my Analytics dashboard daily to make sure that there were no unexplained traffic losses.
How to Add More Tags to Your Website
Once you’ve implemented your first tag, it gets easier. For example, here’s how I added Crazy Egg tracking code to my site.
I went back to the main page, clicked the “add new tag” button and selected Crazy Egg. I gave the implementation a recognizable (to me, at least) name.
I added my Crazy Egg account number and set the code to fire on all pages.
I previewed, then published the code.
Other Google Tag Manager Resources
While I’m happy with the final results of my GTM implementation, it took a LOT of research to make it work right. While I was doing it, I took the chance to make some other useful tweaks. Here are the resources I found most useful.
- Google’s guide to upgrading to GTM was a good starting point.
- An Introduction to Google Tag Manager – this is technical but has a lot of excellent information.
- Seriously Simple Marketing’s migration guide was useful for setting up page view and click tracking.
- Though I didn’t use it, I was intrigued by Brian Jackson’s list of useful scripts as part of The Complete Google Tag Manager Tutorial.
- Distilled’s getting started guide is useful.
- Amaze Metrics helps with tracking outbound links with GTM.
- Lunametrics shows you how to get more insight into your content with content groupings and GTM.
- And Simo Ahava has a pretty comprehensive resource list.
Now that I have implemented GTM, I can see how easy it will be to add other tags. Since it also allows you to use custom HTML, there’s no limit to the tracking you can implement. Are you using GTM? What resources did you find most useful?
Read other Crazy Egg articles by Sharon Hurley Hall.


